Continue reading if you want to learn how to display a picture using a program made with TIGCC.
First you need Image Studio: Download
from Ticalc.org
The picture that you want to display must be a bitmap with a width that is a
multiple of 8. The height doesn't matter.
A ctually the picture can be any width, but it's just simplier to use a picture
that has a width of n*8 pixels. If your picture has a width of 79 pixels, just
make it 80.
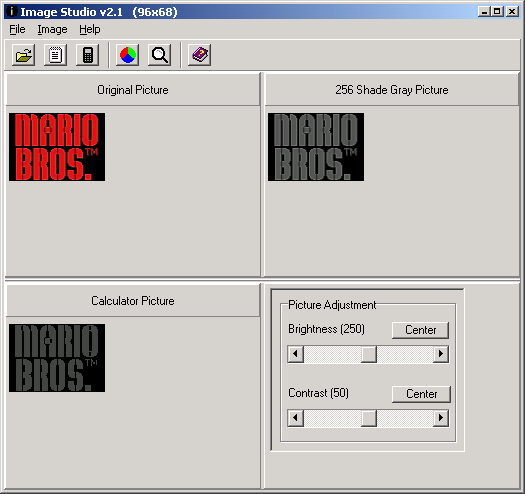
First step, launch Image Studio and load the picture:
The picture I loaded has a width of 12*8 pixels, and a height of 68 pixels.
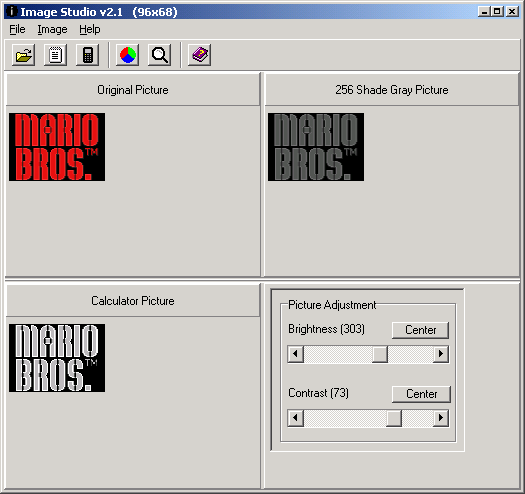
Second step, adjust the brightness and the contrast:
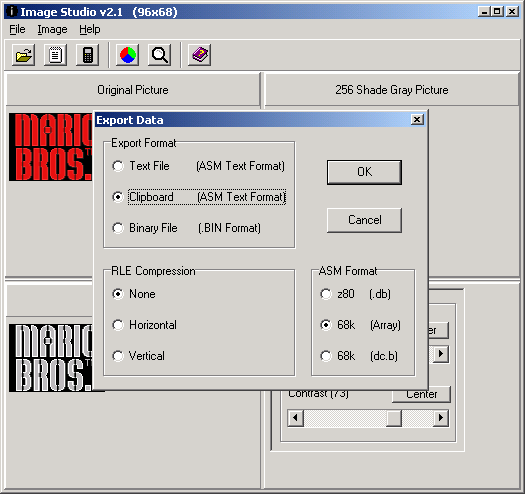
Third step, export the data:
Fourth step, paste the data in a new TIGCC project:
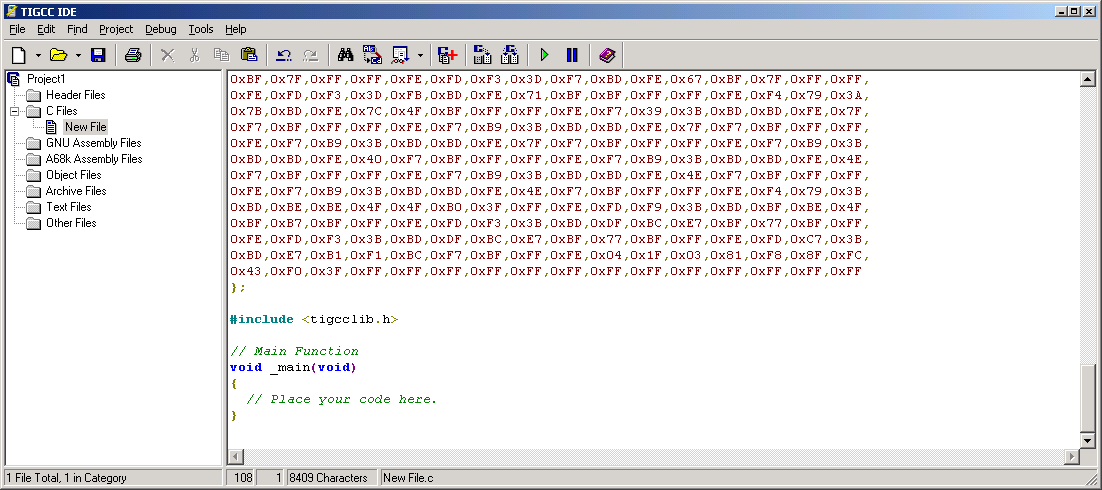
what we have now is two arrays : layer1[] and layer2[].
layer1[] contains the data of the picture for the DARK_PLANE, while layer2[] contains the data of the picture for the LIGHT_PLANE.
5th step, write the code to copy the data to the screen:
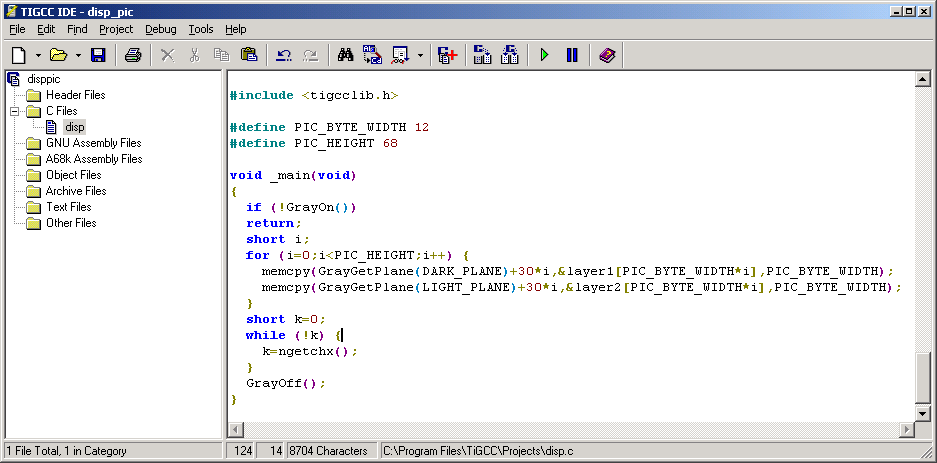
Notice the use of the two constants 12 and 68.
If you make the program, you have:
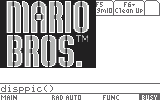
tadaaa!!